
|
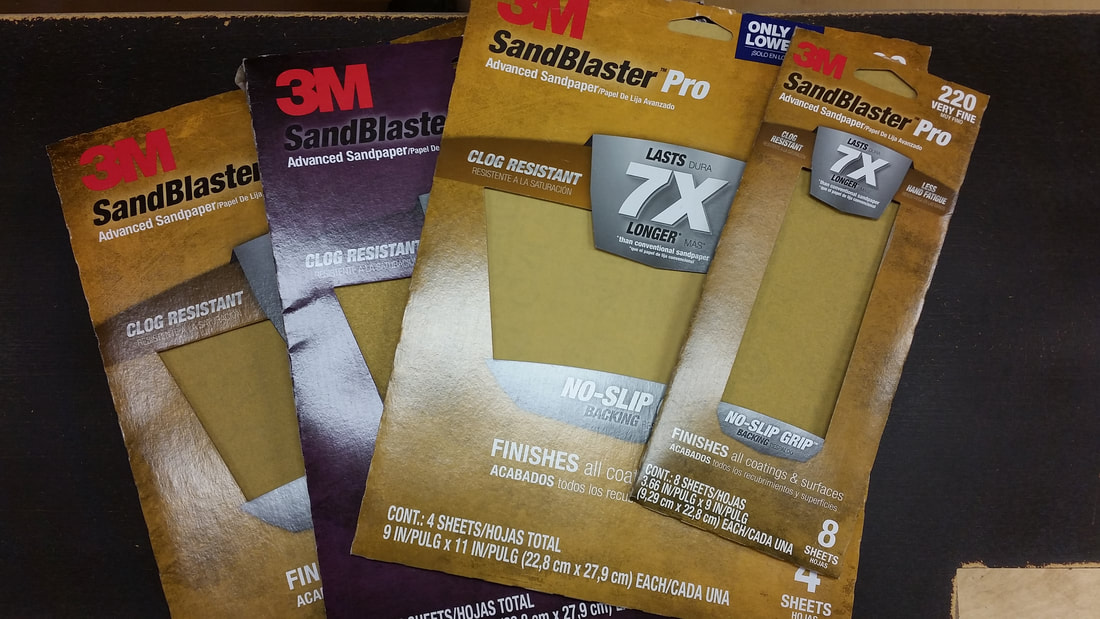
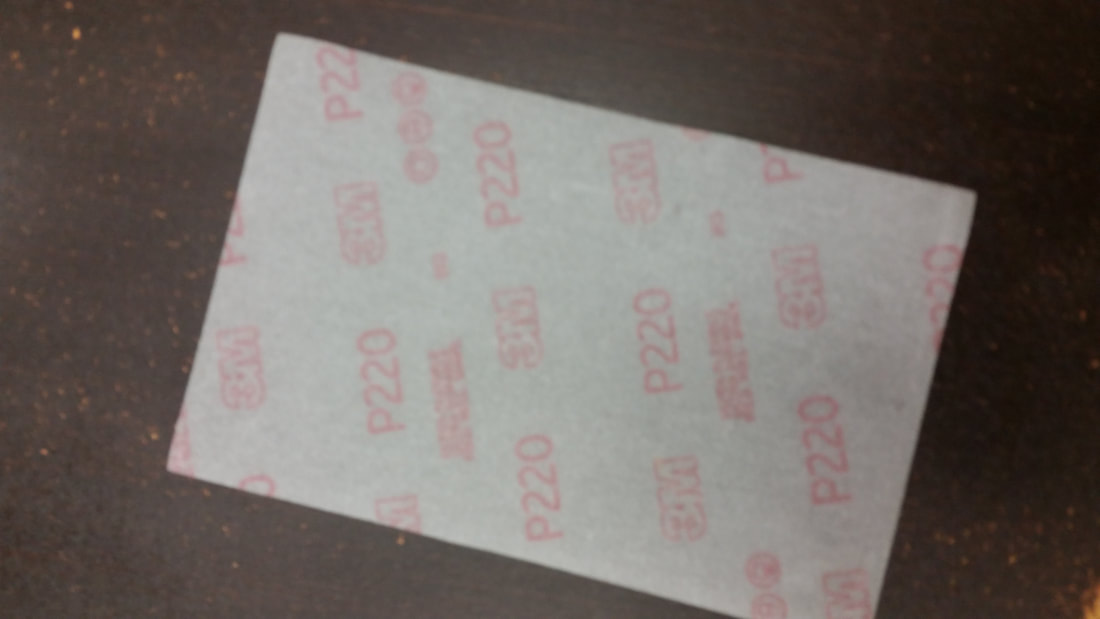
In this session we are going to review the process of preparing for the fun stage - painting. However before we jump to the really fun stuff we need to make sure the surface is ready for the challenge. At this point we have properly cleaned the piece but we need to lightly sand the entire piece with 220 grit sandpaper. We buy sandpaper in bulk packages at the local home improvement store in sheets. Take the full sheets and cut them into half or quarter size and fold in half again, for 1/2 sheets just cut in half and fold. There is no set size, this is how we like ours, so just go with what you like. You just need a good size to work with. You don't need a sanding block or pad because you are not trying to flatten the surface, you just want to "scuff" the surface with a light sanding. We do use a very flexible sandpaper made by 3M (special order) for use in very irregular surfaces to make the job easier.
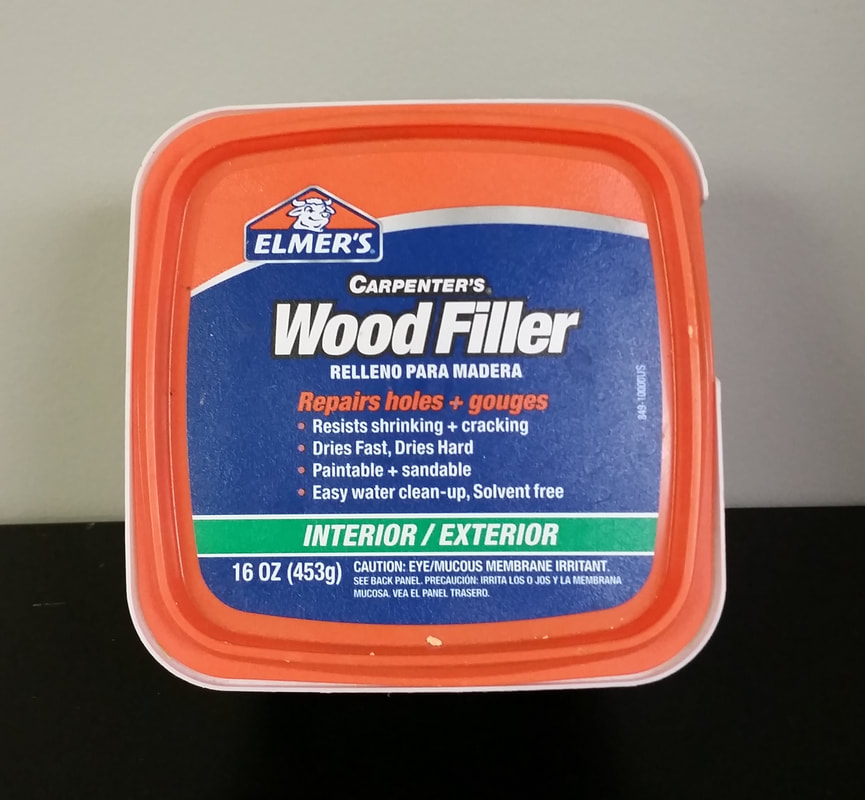
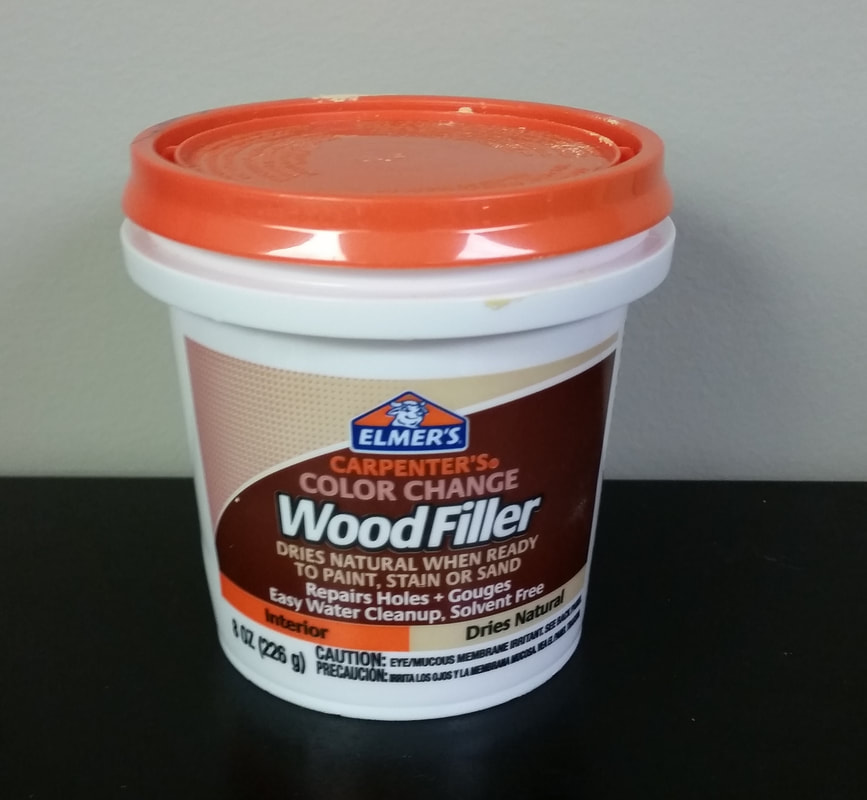
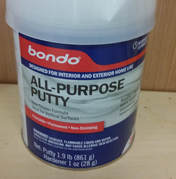
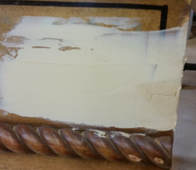
Once the sanding is done you may want to go back over the piece looking for any defects in the surface (you probably found those during cleaning or sanding). At this point you have a choice to make. If they are minor and just add "character" then you may want to just leave them in the piece, just make sure there are no rough edges that will take away from the final finish. Many times we chose to "smooth" these out by sanding, repairing just makes it look worse. Remember, this is your piece of furniture, do it your way. If you want to fix the defects then there are a couple of methods to get this done. With small to medium areas we like to use Elmer's Carpenter's wood filler. It comes in plain and color change. The only difference is the color change version goes on pink and turns to a natural color when it's dry (great for those who hate to wait). You apply the product with a putty knife (we use one about 1-2 inch wide) by spreading over the area to be filled applying downward pressure, scraping off the excess from the surrounding areas. Once the filler is dry, sand with 80-100 grit sand paper and you may want to use a small block of wood as a backer block. This will allow you to make the repair flat with the surrounding area. Once you are happy with the fit and finish, do a light finish sanding with your 220 grit. Note: you don't have to use the 80-100 grit, it just speeds up the process. If the area requires a deep fill, you may have to apply a second coat after the first is dry and repeat the process. If the area is large you may want to use a two part filler such as Bondo. This product is more difficult to work with because you have to mix a harder with the filler and create a mixture that chemically cures and has a limited work time. This product works good if you are repairing a area that simply needs a thin skim coat, like a lot of missing veneer.
Another item you will want to address is any drawers or doors not fitting properly. The methods for these repairs vary by the age of the furniture, style, and overall condition. As a result we are not going to attempt to address these issues in depth. We would like to add however that paint adds a very small layer to the surface when it is applied. If drawers and doors fit snug now, odds are they will not fit well once painted. A rule of thumb is that you should be able to pass a double thickness of a business card all around the space between a drawer/door and the furniture frame. It's a lot easier to make sure these things work properly now rather than trying to fix once painted. One final thing to do to be all set to paint. You need to wipe down the piece with a damp clean cloth, damp micro fiber, or tack cloth to remove all of the dust generated during the sanding, filling, and re-sanding process. A little compressed air, if available also helps. Be sure the piece is completely dry before painting. You are probably asking, "why did I clean before I sanded if I need to clean again". Well you are now just dusting and sandpaper doesn't like dirt and crud. Final Note: Is it's going to be a while before you paint your piece, cover to minimize any dust. Jim & Nancy - Just Paint It
1 Comment
In this session, we are going to review the basics of cleaning to get your furniture ready for painting. Paint needs a good clean surface in order to properly adhere. Years of use, polishing, and handling results in a build-up on the surface that paint does not like. Probably the number one failure in painting is not properly cleaning the piece. No one likes to do it but it's one of those, pay me now or pay me later things. A lot of folks will tell you, all you have to do is just paint, no special prep. While that may work, sooner or later you will get caught. Nothing is worse than getting a piece of trash in your paint while applying and it's really much easier to properly clean than to have to start all over if the paint fails to "stick". It's not that hard and the process gives you a chance to look for other issues that will need to be addressed, missing hardware, a stuck drawer, or door that just doesn't fit. So now that we have you convinced that cleaning is a good idea, let's go.
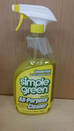
Now lets get down to the real work. There are two products that we like to use to clean our furniture. The first is TSP. It comes as a powder that you mix with water or as a ready mix. One nice thing about mixing your own is that you can make it a little stronger if needed for a particular piece. Remember to always follow the manufactures instruction, sometimes more is not always better. The other is Simple Green. However there are a number of fine cleaning products on the market, just use what you like.
Regardless of your cleaning product, thoroughly clean the piece getting in all the crevices and nooks (that where most of the crud lives) using a soft cloth. We will sometimes use a micro-fiber cloth for cleaning if the piece is really dirty, saves a little time. You may also want to use a paint stick with your cloth wrapped over it to get into really small places. Once washed down, thoroughly rinse with clean water to not only remove the remaining dirt but to also get all of the cleaning agents off as well. You may need to change the rinse water several times to remove all of the loose grim. In areas that are hard to get into, use a hairdryer on the lowest heat setting to help force out the dirt. If you have an air compression, that works even better. Once rinsed, allow the piece to completely dry before proceeding. We like to set the piece outside in the sun and get a little help with the drying. Final Note: If it's going to be awhile before you paint, don't worry about keeping the piece covered and clean because in the next post we are going to get it dirty again. Jim & Nancy - Just Paint It |
NancyLove to paint, make old furniture look new again and always looking for a new challenge JimLove to create. I'm a "maker" Archives
March 2018
Categories |


 RSS Feed